Sani Seal Toilet Gasket Installation Instructions

Sani Seal Waxless Toilet Gasket is the easiest toilet seal on the market to use and install. Its forgiving material is highly resilient and flexible, allowing the installer multiple chances to install their toilet without risk of ruining the seal.

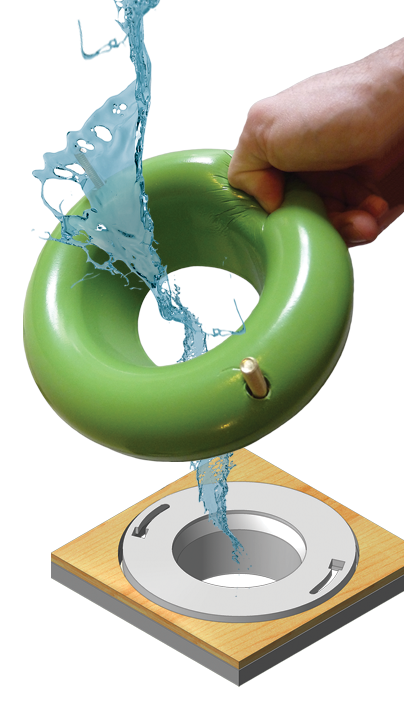
Install Sani Seal in 4 Easy Steps!

1. Remove toilet

2. Scrape wax off flange and bottom of bowl

3. Place Sani Seal over flange and bolts

4. Set bowl in place and tighten bolts snug

Please review our introduction and installation videos below before proceeding with installation.

Detailed instructions on toilet installation using Sani Seal:

To get started you will need a few tools:

  • an adjustable wrench, a scraper or putty knife,
  • a Sani Seal Toilet Gasket (or 2 depending on the depth of your flange),
  • a new bolt kit,
  • and a hack saw or bolt cutters.
  • Shut off the water supply to the tank. Disconnect the supply line from tank. If you have an old stiff supply line we recommend you buy a new flexible supply line for a few dollars at your local hardware store.
  • Remove your beauty caps that are covering the bolts. If your old bolts are rusted take your hacksaw and cut between the plastic and the nut to get it loose. Once you remove the nut, pull your stool off.
  • You probably had an old wax ring installed so take out the old bolts and use your putty knife or scraper to scrape off any residue on the flange and bottom of the stool. It doesn’t have to be perfect, this gasket works just fine with a little residue on the flange and stool.
  • Place the Sani Seal Toilet Gasket over the bolts and line them up.
    This is an image
    A great thing about this gasket is that it fits down over your bolts and helps hold them straight up for easy installation. If your flange sits below floor level more than 3/8″ this gasket is easily stacked. You can also use plumbers paste or silicon on top, in-between or below the gaskets for added protection, but it is not necessary. On a second floor or over a finished basement, we like to take silicon and fill in any voids on and around the flange so the water has no where to go but down the drain.
  • If installing toilet to a short offset flange, flange with a smaller waste outlet, or a ledge or shelf that does not allow the Sani Seal Toilet Gasket to slide down into the floor flange, please install the Sani Seal Toilet Gasket as it is packaged with the flange folded in on itself and also upside-down.
    This is an imageThis is an image
  • Line your toilet up. It doesnt have to be perfect because this gasket is very forgiving and you can make some mistakes with no problems. Set the stool down on the gasket and straighten it up to the wall.
    This is an image
  • Lean on the toilet and feel it bottom out. Put the plastic cap bottom, washer and nuts on both bolts. Dont tighten one side down and then the other. Alternate tightening either side till they are snug, but dont crank down and over tighten them.
  • Cut off your bolt about 1/8″ above the nut with your hacksaw or bolt cutters. Place your beauty caps and snap them on.
  • Reconnect your new supply line and hand tighten it till it’s snug. Turn your water on. Check for leaks from the supply line.
  • Your toilet is ready for use!